Table of Contents
It can take weeks for designers and developers to turn blank screens into real apps that work. That gap is gone with Symplr.io. Now you can bring your Figma design straight into Symplr and make a fully functional mobile app in just a few minutes.
In this guide, you will learn how to import a Figma design into Symplr.io step by step – from preparing your design in Figma to generating a fully interactive app instantly within Symplr.
Step 1: Prepare Your Figma Project
It is very important to make sure that your Figma project is structured correctly before you import your design into Symplr.io. Symplr can correctly recognize layouts, components, and navigation paths when the structure is clean. This keeps imports from breaking layouts or missing screens.In this step, you “teach” Symplr how to read your design.
How to do it right
Layout & Structure
- Use Auto Layout for every frame.
- Wrap all elements in an Auto Layout parent frame.
- Avoid absolute positioning – it breaks scaling
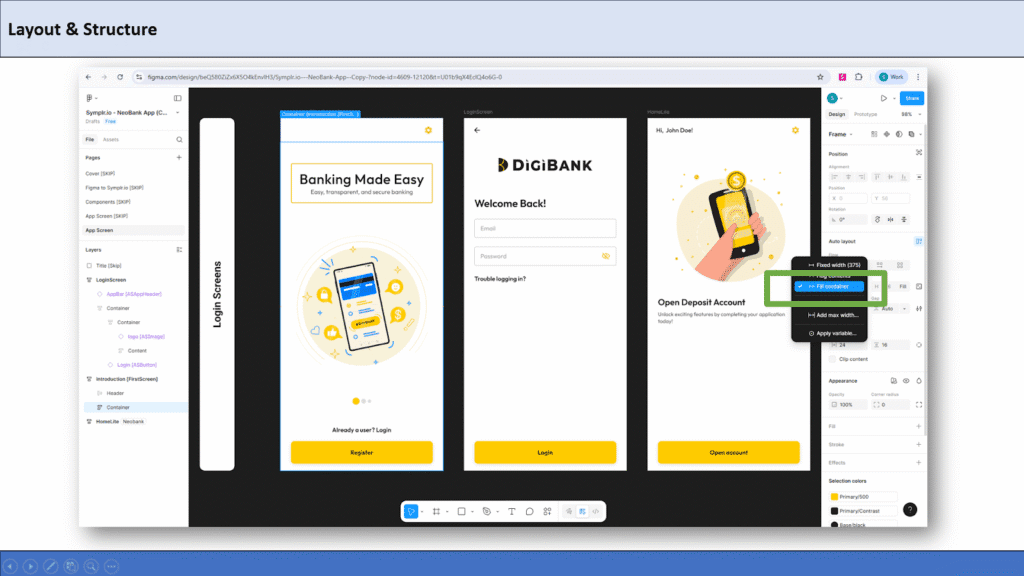
Auto Layout
- Set content to “Fill Container” so it adapts to all screen sizes.
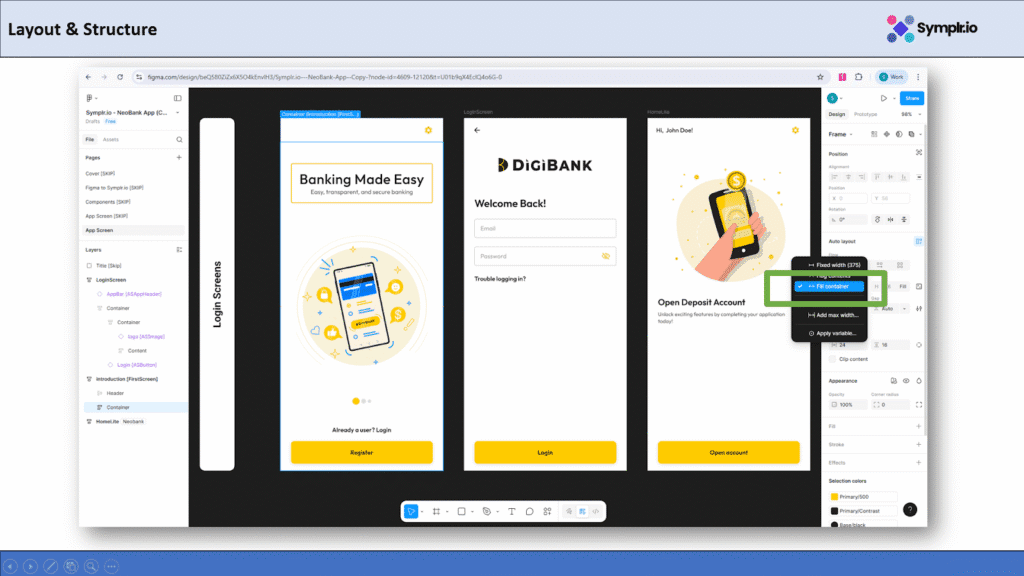
Fill Container
Components & Elements
- Keep fixed width/height for images.
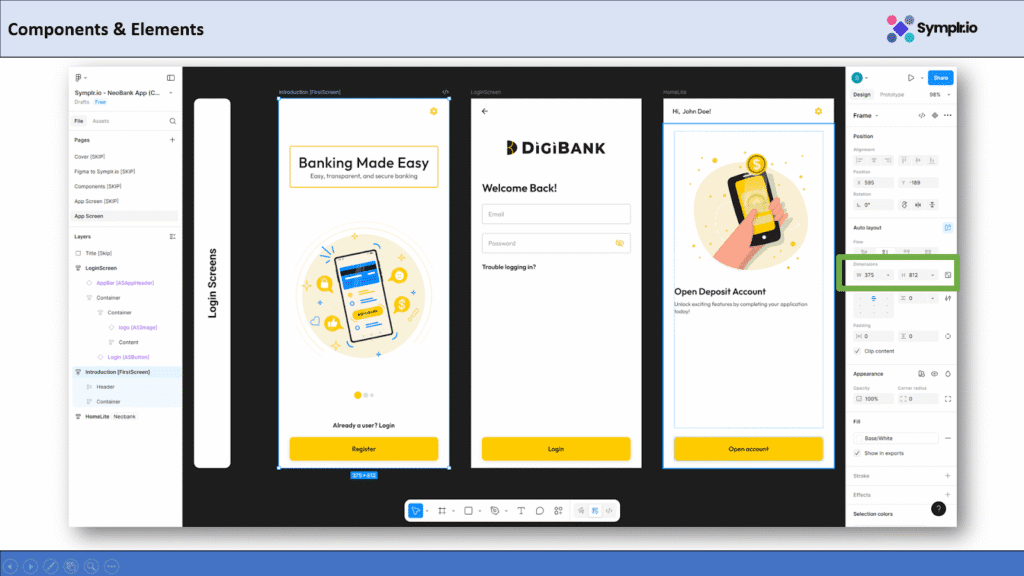
fixed width/height
- All icons must be single vectors and instances.
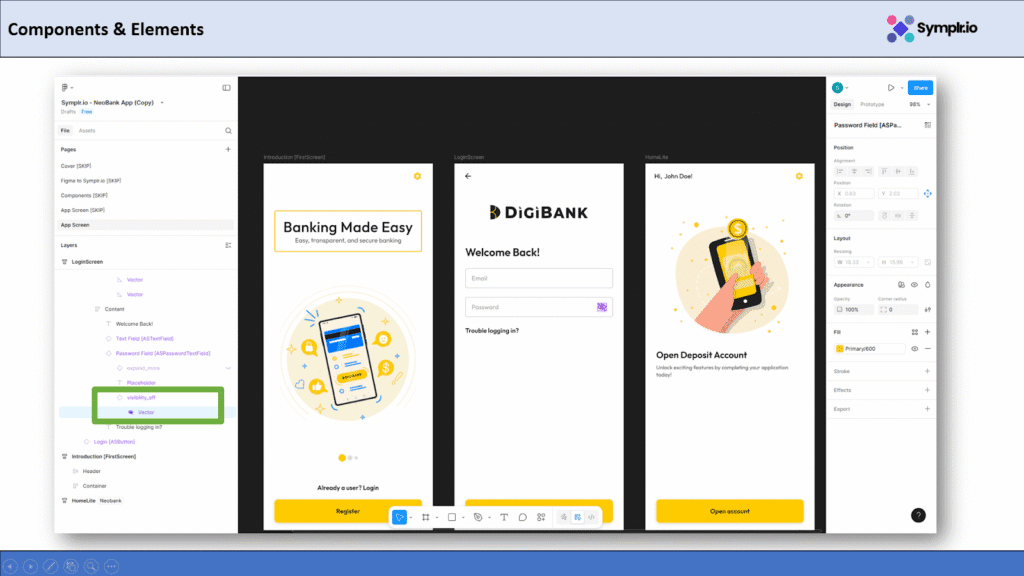
single vectors
- Buttons should include a Frame inside to ensure proper padding.
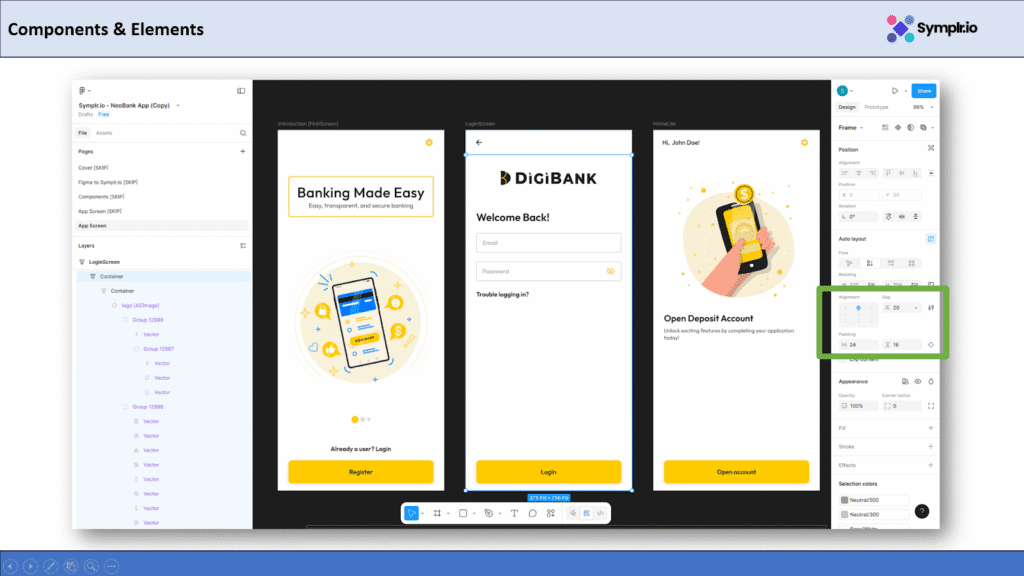
padding
- Badges and tags should have fixed widths for correct sizing.
- List Views must have only one child.
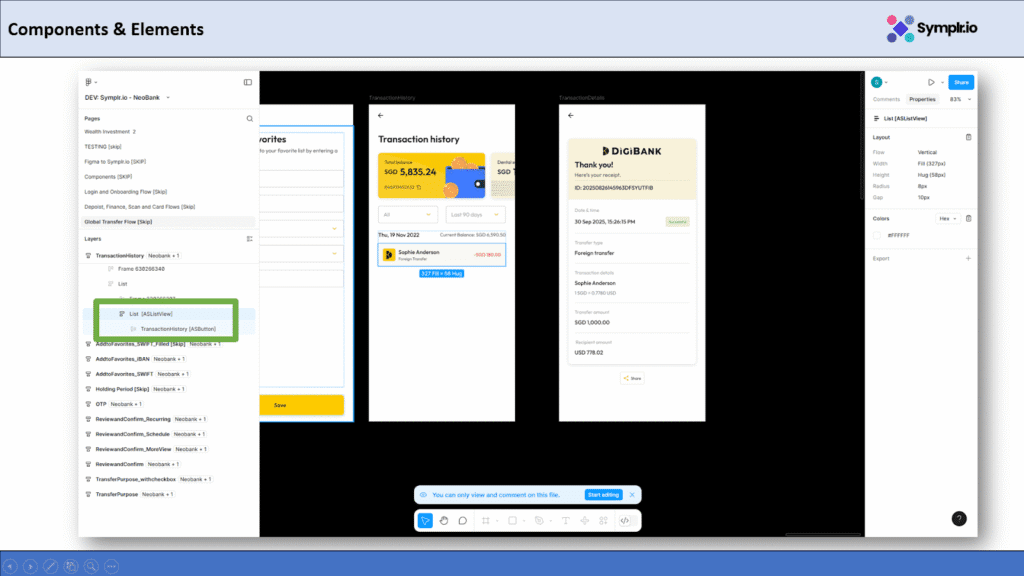
List Views
Naming & Exclusions
- Add [SKIP] to exclude any Page, Layer, or Component.
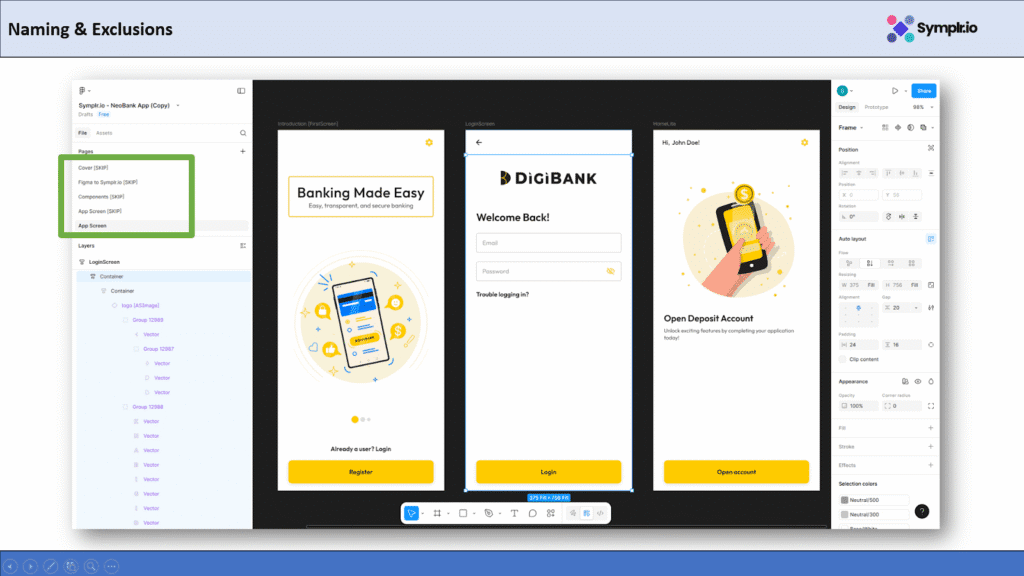
[SKIP]
- Use [FirstScreen] for your app’s opening screen.
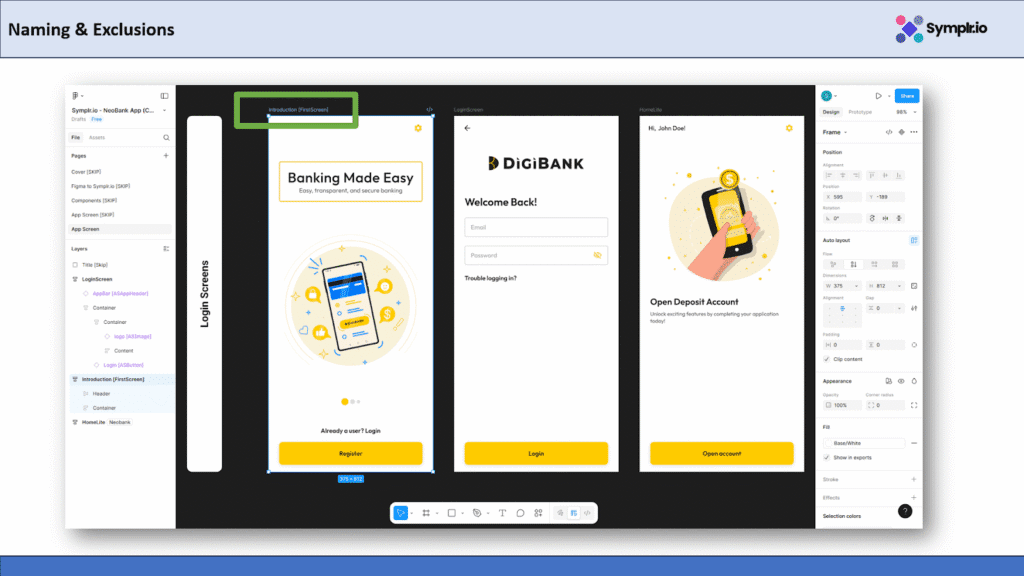
[FirstScreen]
- Avoid duplicate or space-filled screen names.
- Use [ASAppHeader] for the top navigation bar or page title area.
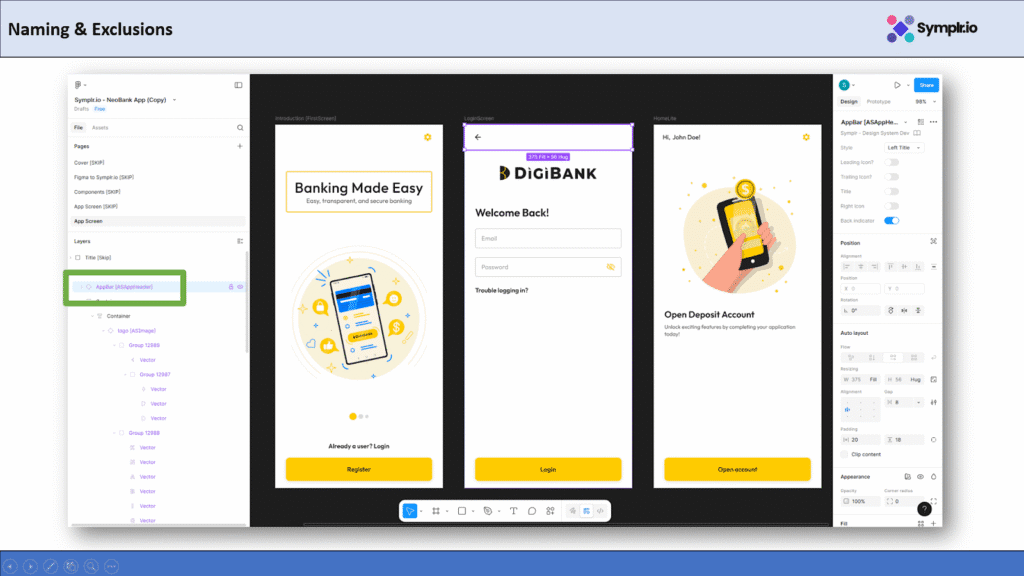
[ASAppHeader]
- Apply [ASTextField] to input boxes where users type text, such as username or email.
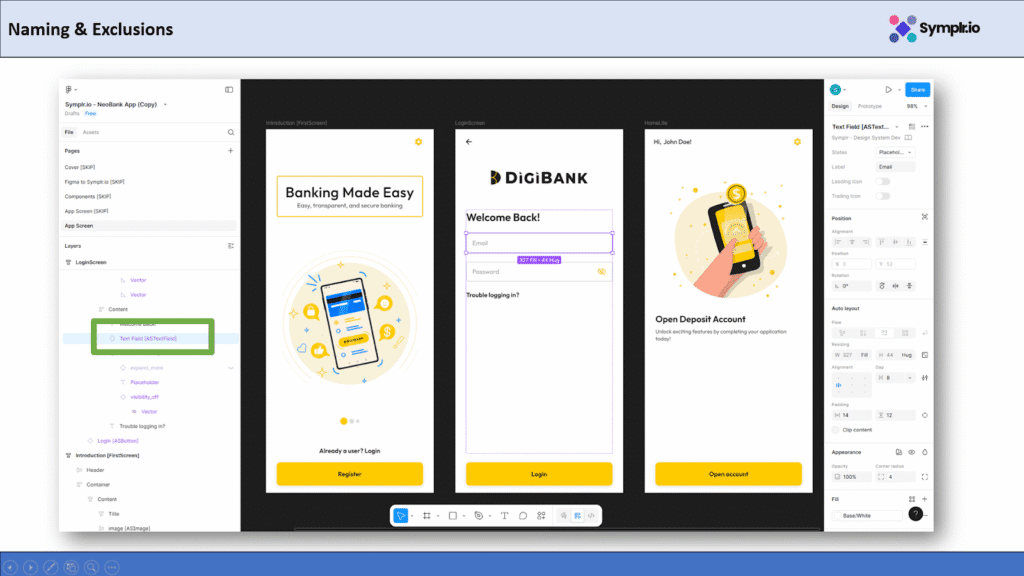
[ASTextField]
- Use [ASPasswordField] for password input fields
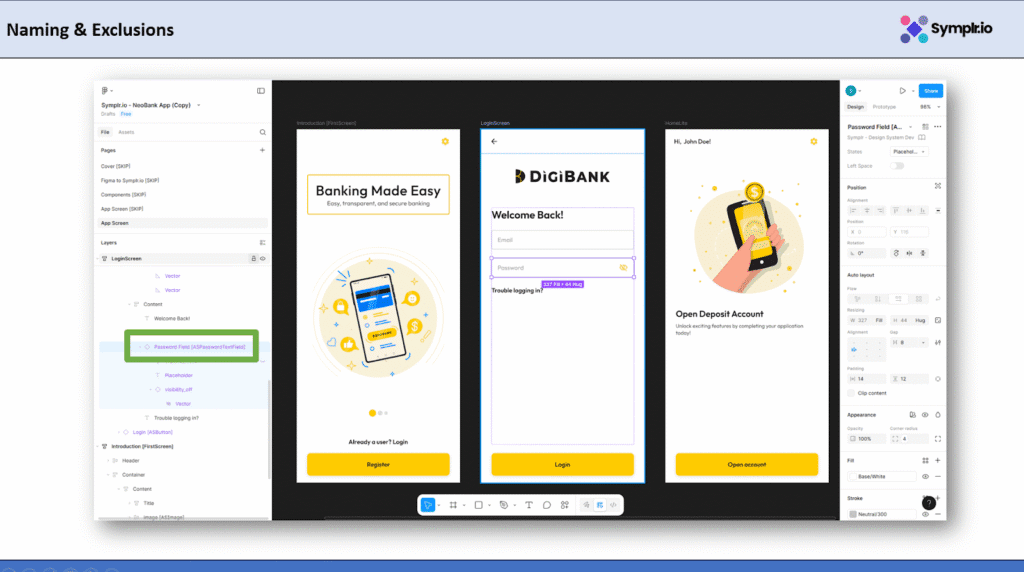
[ASPasswordField]
- Tag all interactive buttons as [ASButton].
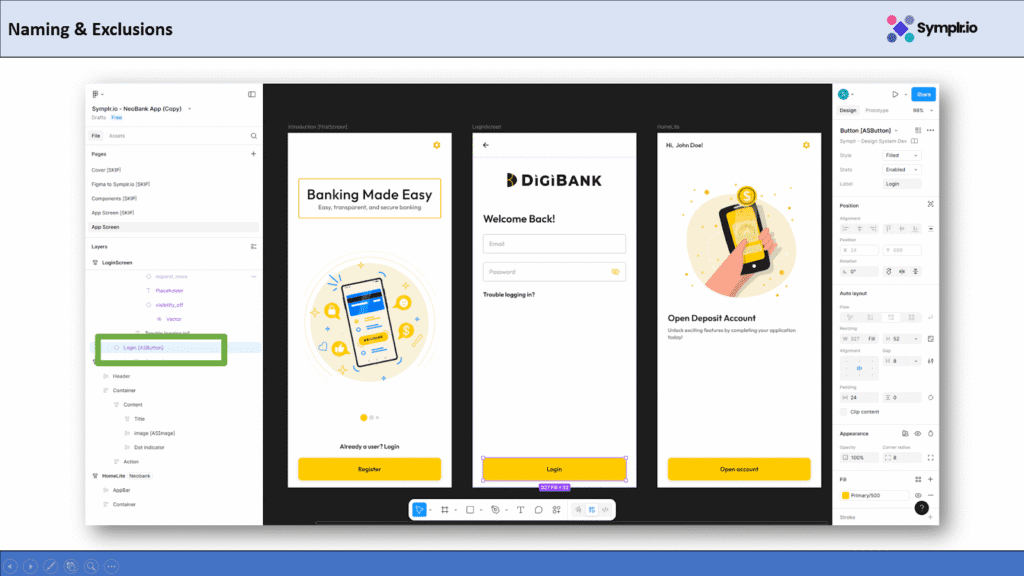
[ASButton]
Step 2: Importing Your Design into Symplr.io
Now that your Figma file is ready, let’s import it into Symplr step by step.
Log in to Symplr.io -Open Symplr.io and sign in.From your dashboard, click “Create New App.”
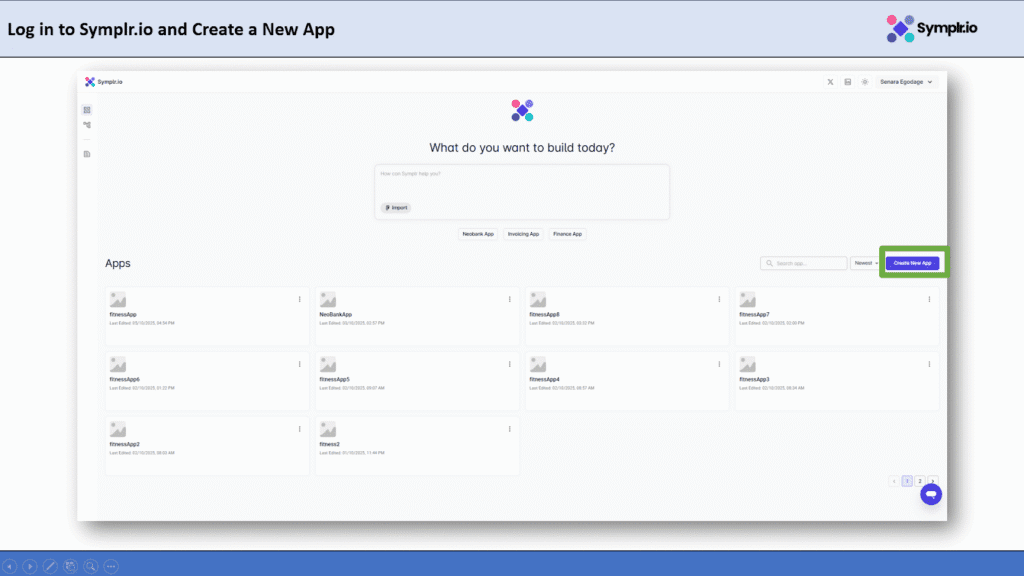
Create New App
Import from Figma – In the popup, enter your app name (e.g., MyFitnessApp) and select the ‘Import from Figma’ option.
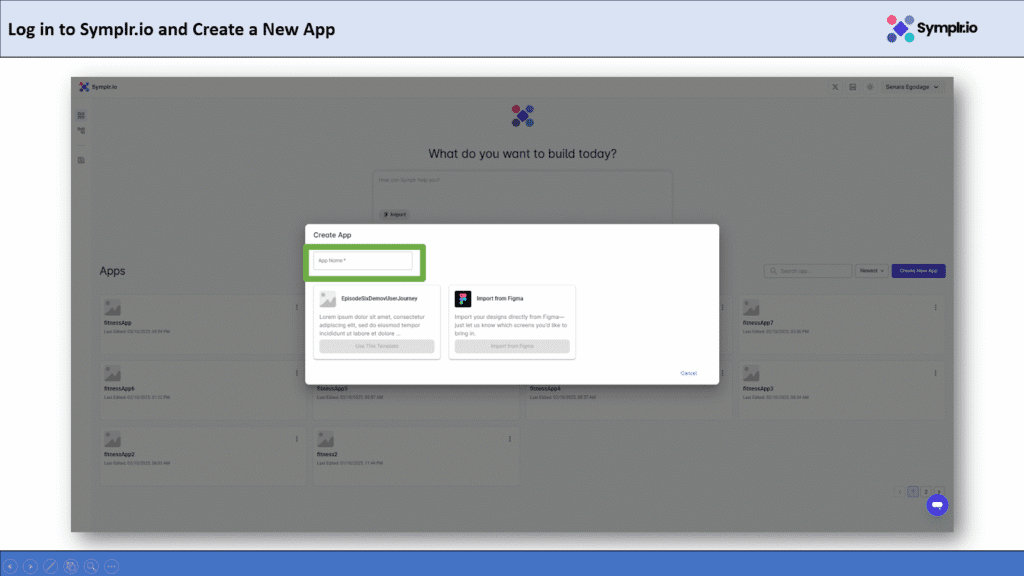
Import from Figma Popup Window – App Name
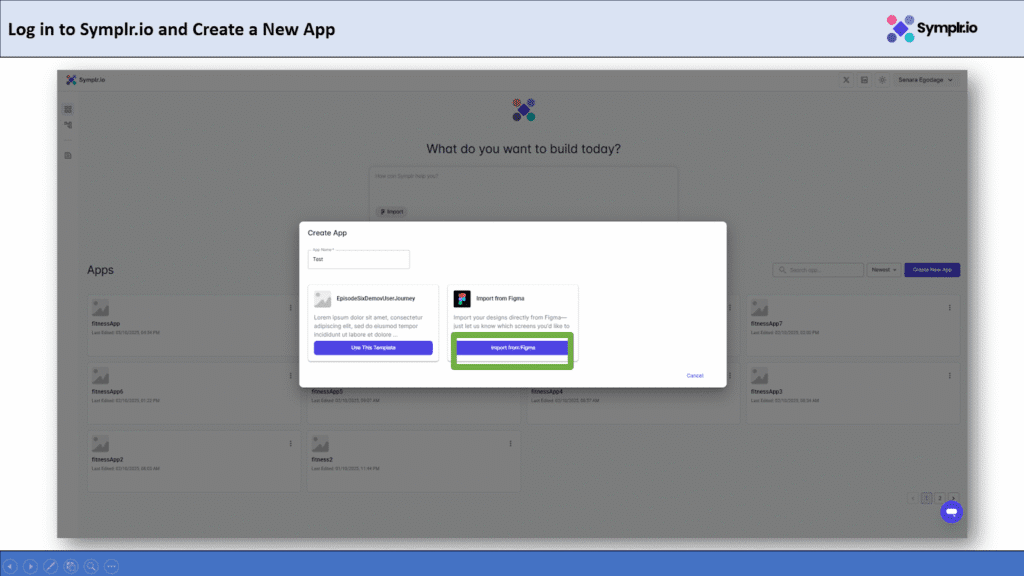
Import from Figma Popup Window – Import from Figma
Paste the URL and Token in Symplr– paste both your Figma Design URL and Token, then click Next.
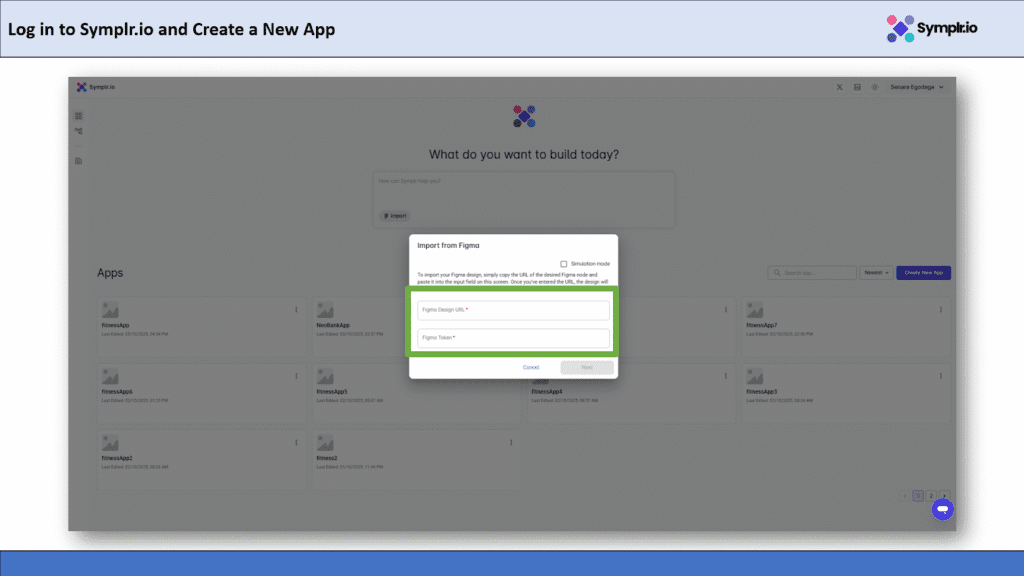
Figma Import Popup with URL and Token Filled
Get Your Figma Design Link – Open your Figma project.Click Share on the top-right.
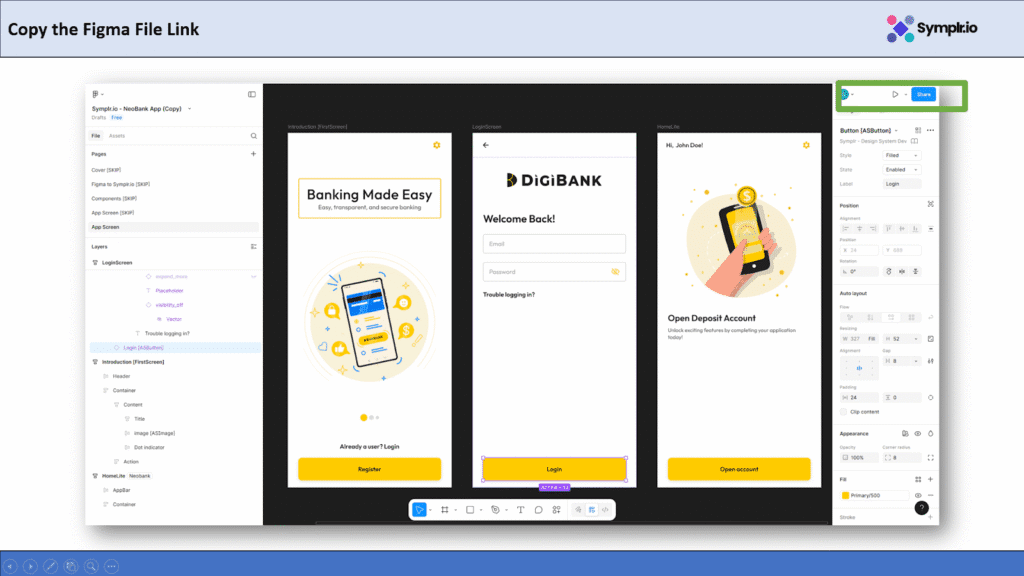
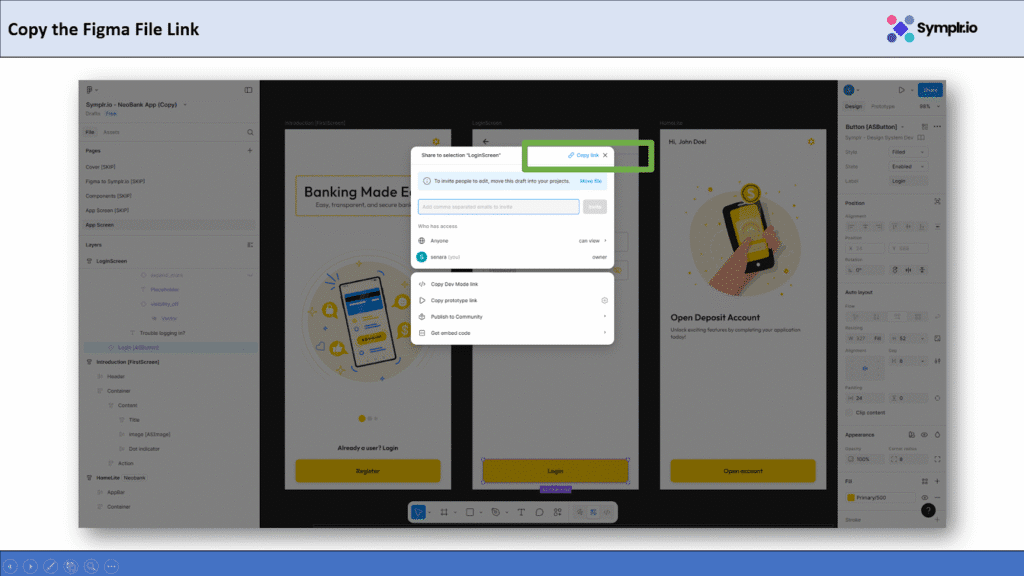
Copy your design link directly from Figma’s share menu.
Generate a Figma Personal Access Token
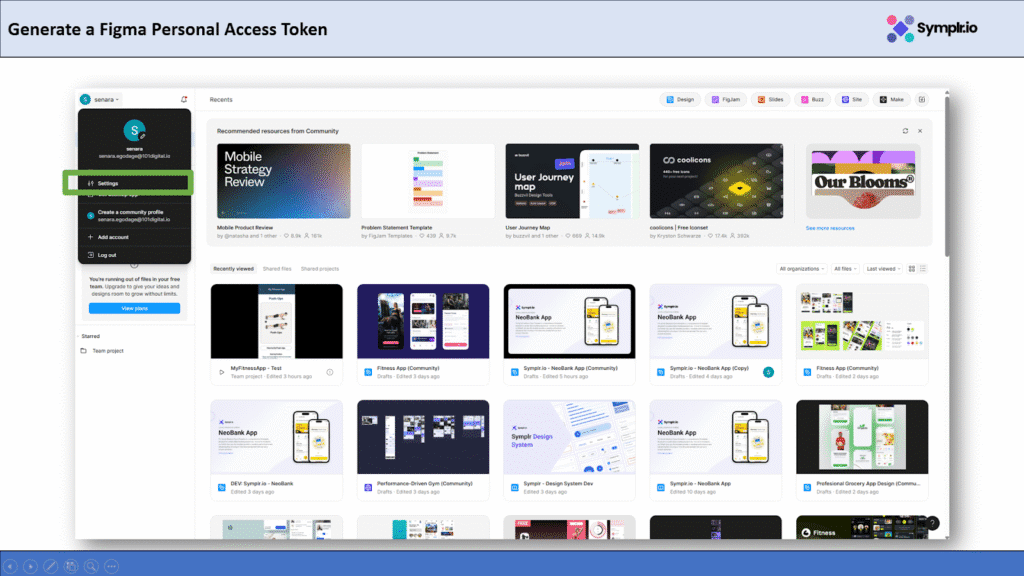
Click your profile icon → Settings.
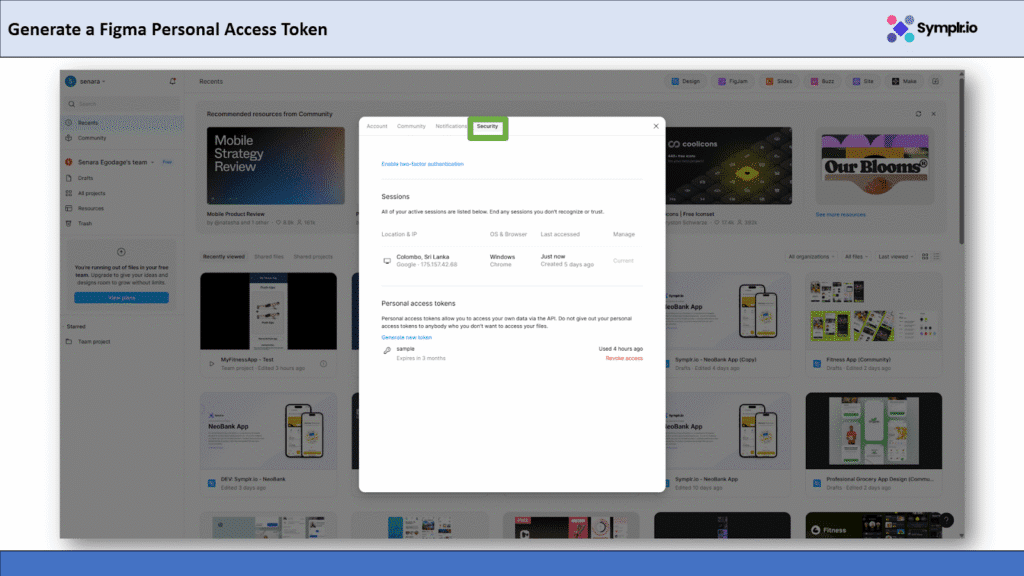
Open the Security tab.
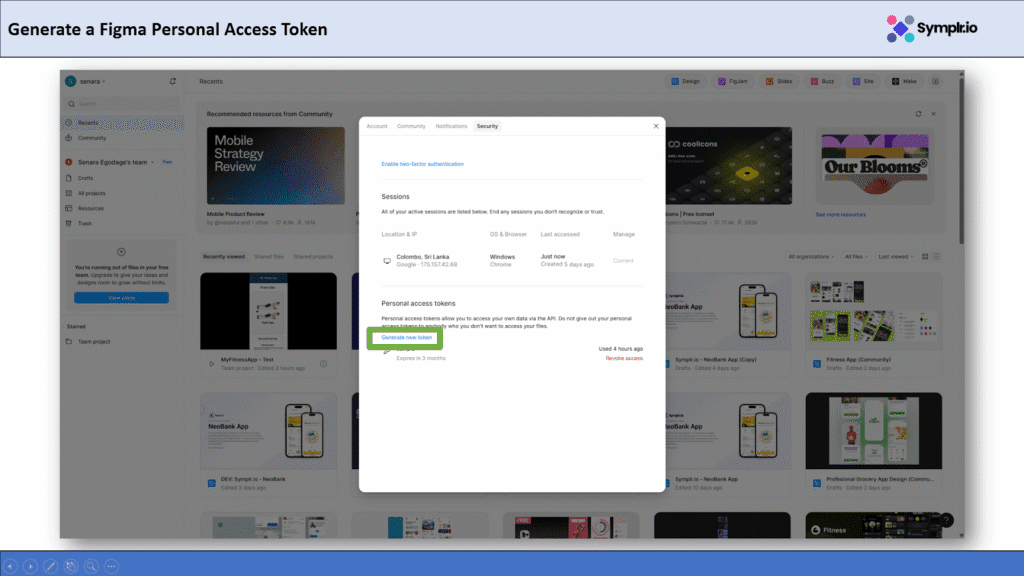
Click Generate new token.
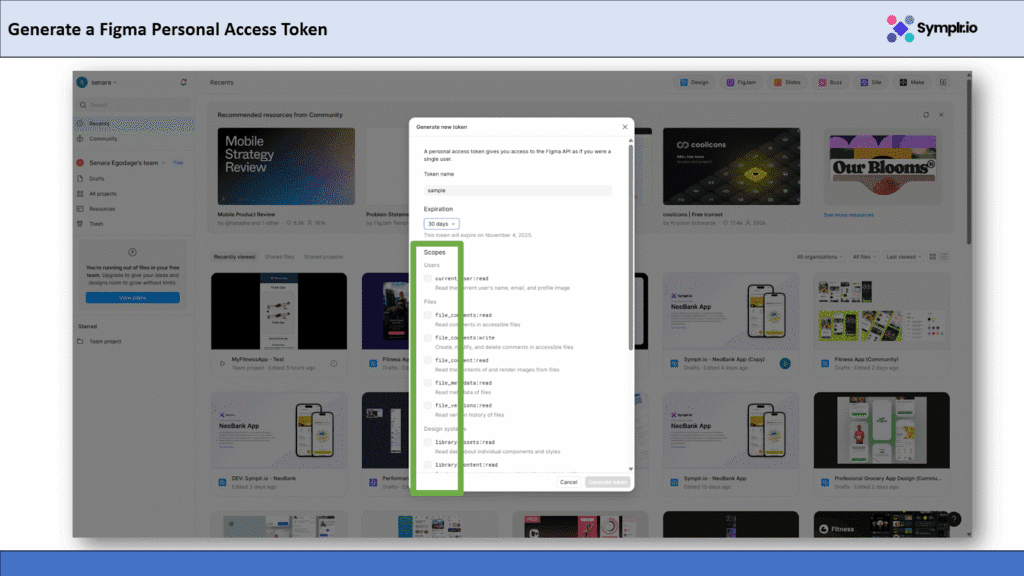
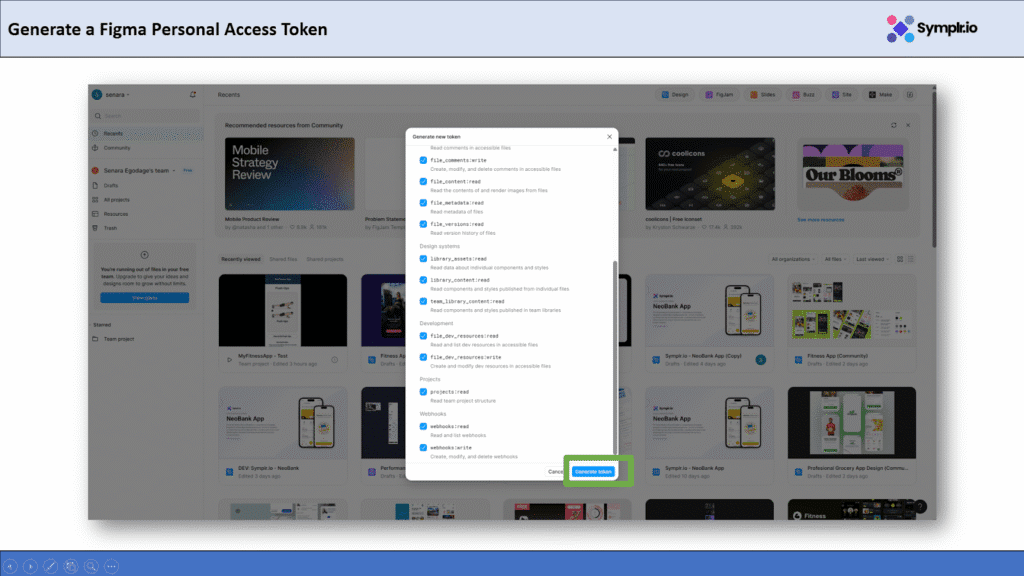
Select all permissions and click Generate Token.
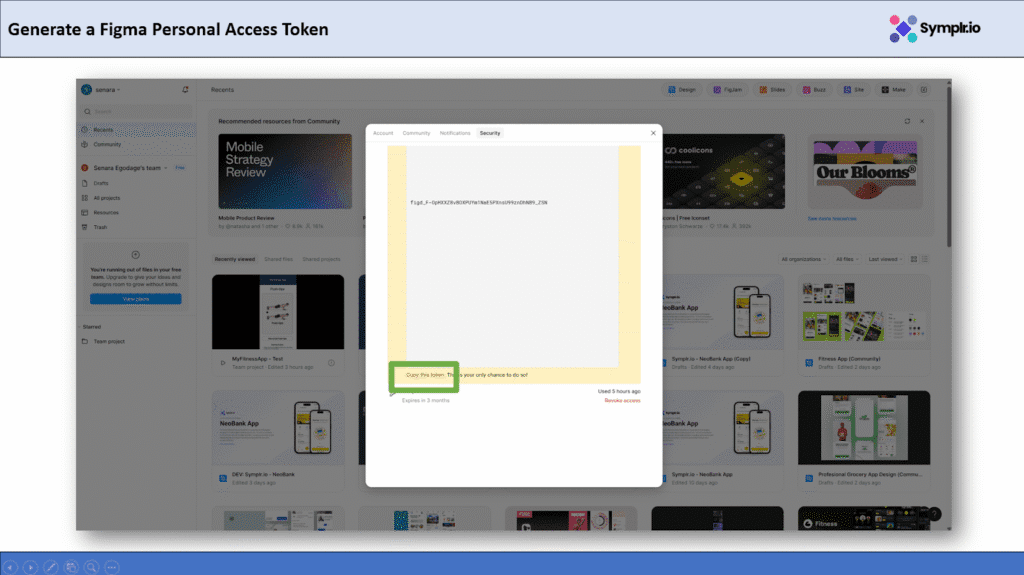
Copy your token
Back in Symplr, paste both your Figma Design URL and Token, then click Next.
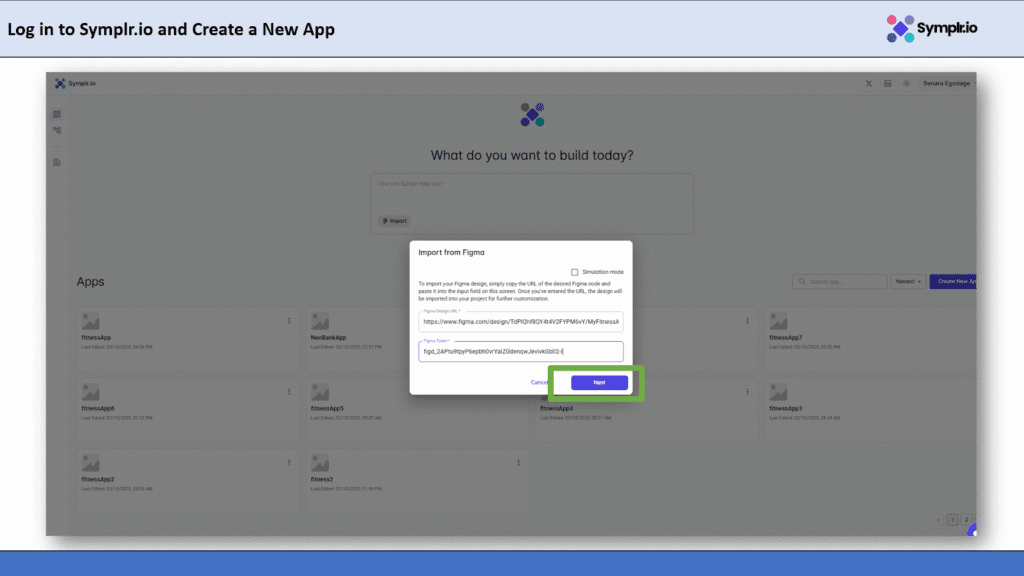
Paste the URL and Token in Symplr
Configure Your App Theme –Choose your preferred color theme and typography combination (Red, Blue, Teal, or Yellow). You can also preview how your app will look on a mobile device.
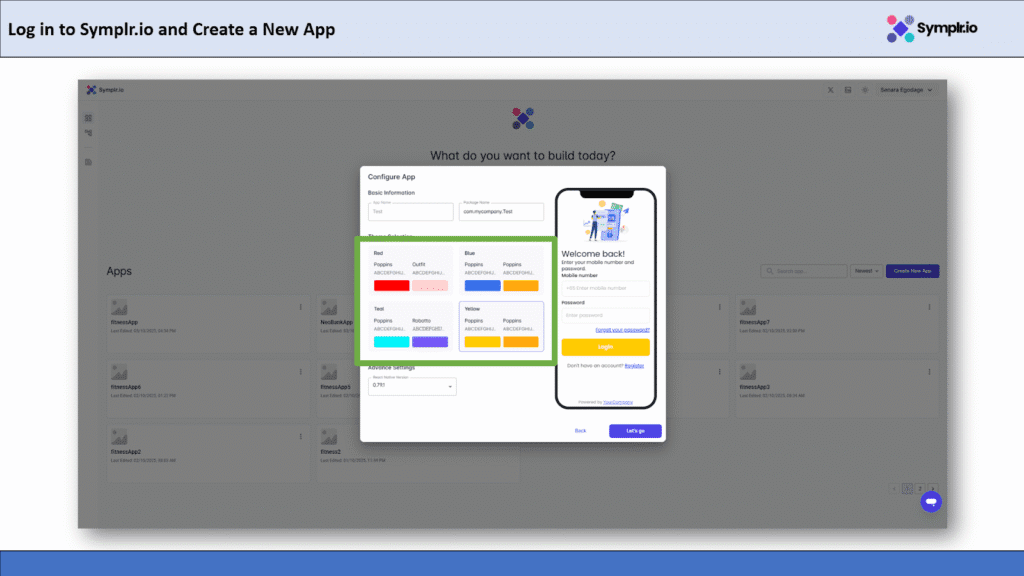
Customize your app’s theme before importing.
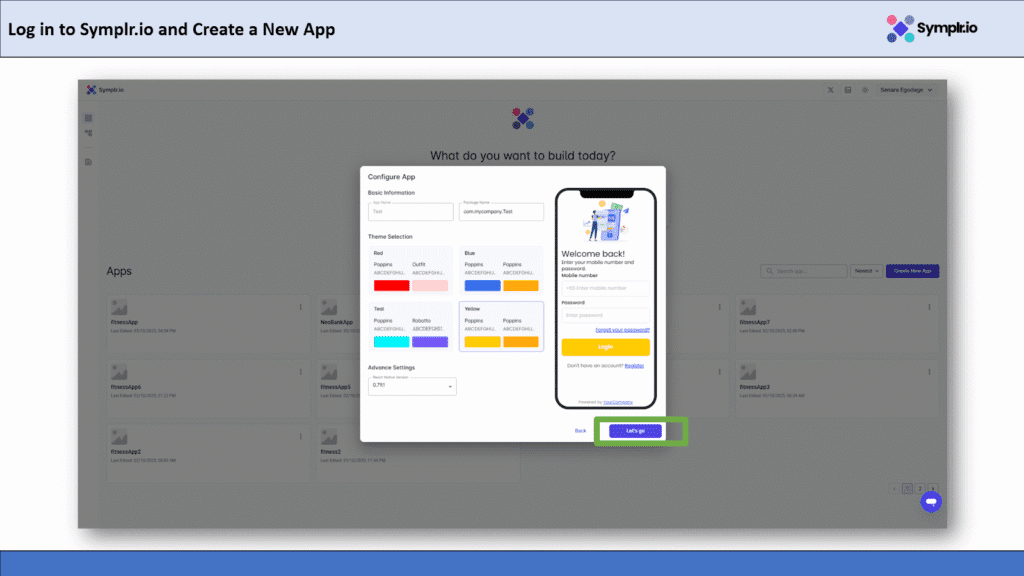
click Let’s Go
View and Build Your Workflow – Once the import is complete, Symplr automatically generates a workflow diagram connecting all your screens.
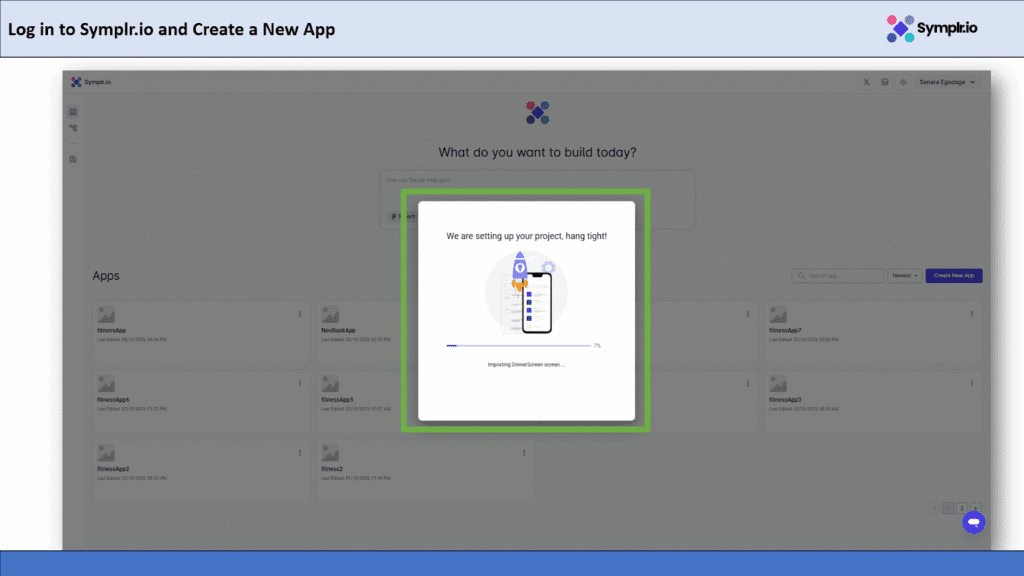
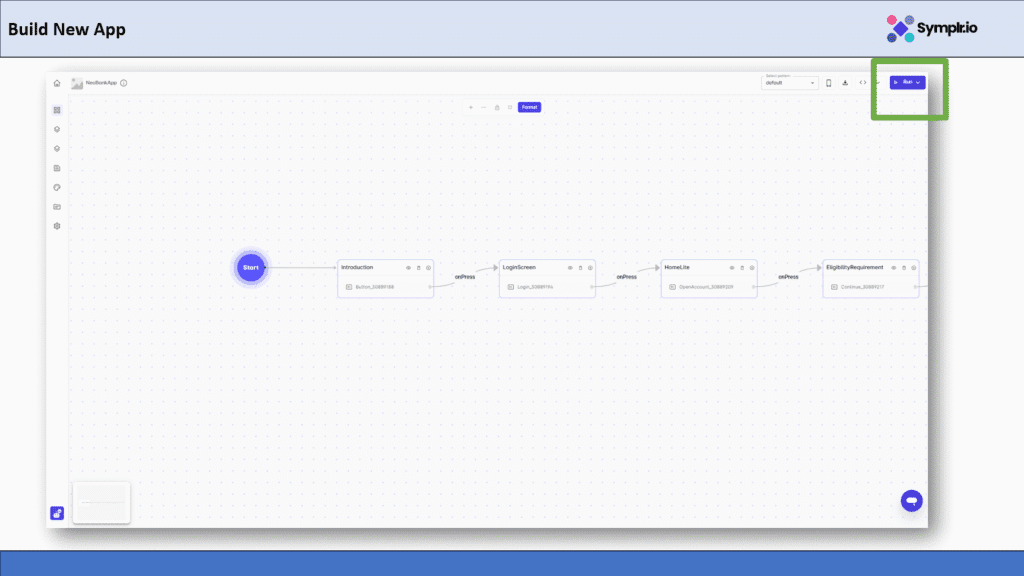
imported workflow is ready. Click Run
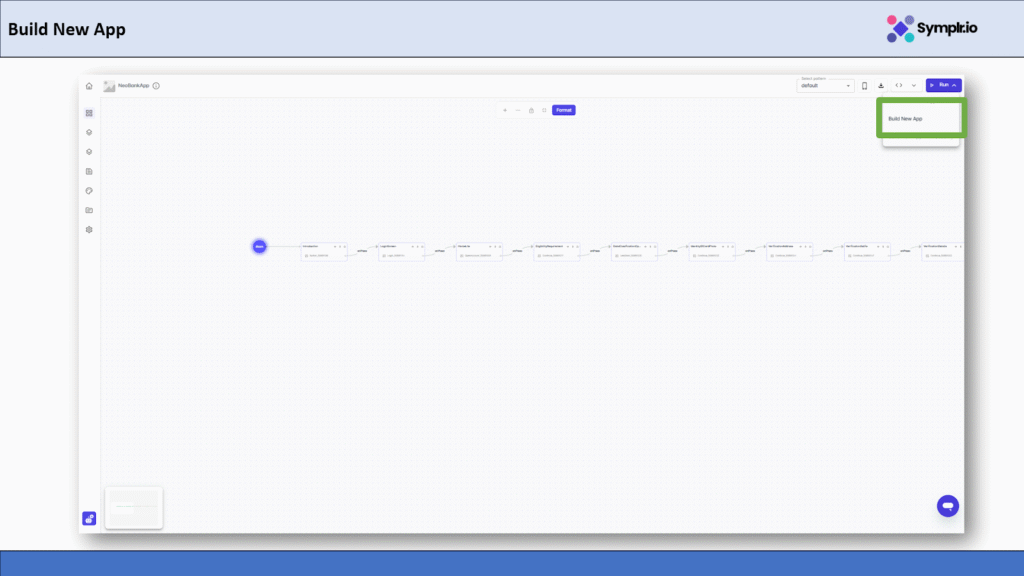
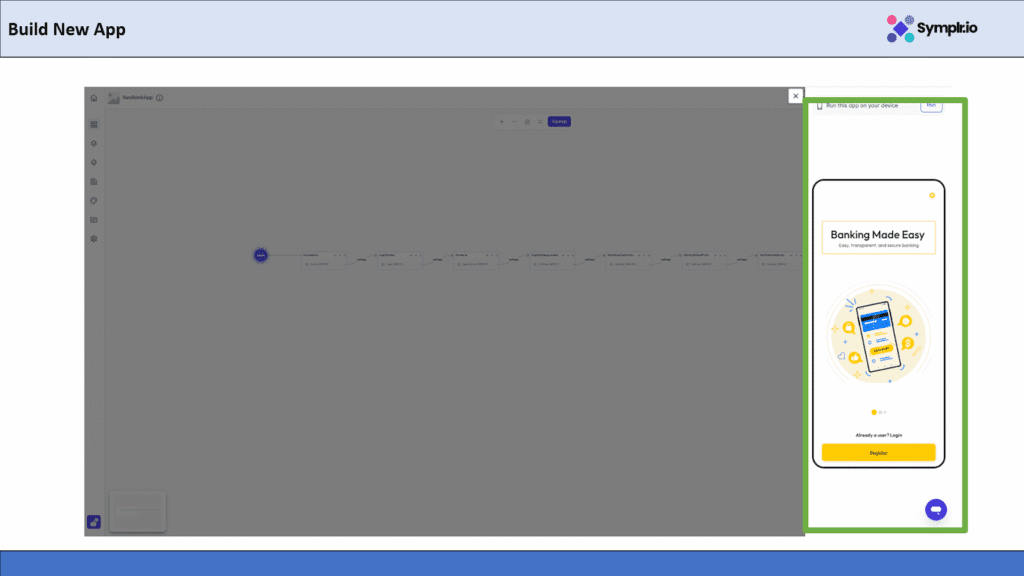
build and preview your app
Conclusion
That’s it! Now that you know how to import a Figma design into Symplr.io and get your Figma project ready, and import it into Symplr.io, you can quickly turn static designs into responsive, fully functional apps with a few clicks.
You will not ever have to worry about missing elements or broken layouts again if you follow these guidelines.
By handling the heavy lifting, Symplr frees you up to concentrate on creativity rather than code.
Keep in mind that flawless Symplr results are the result of good Figma structure.